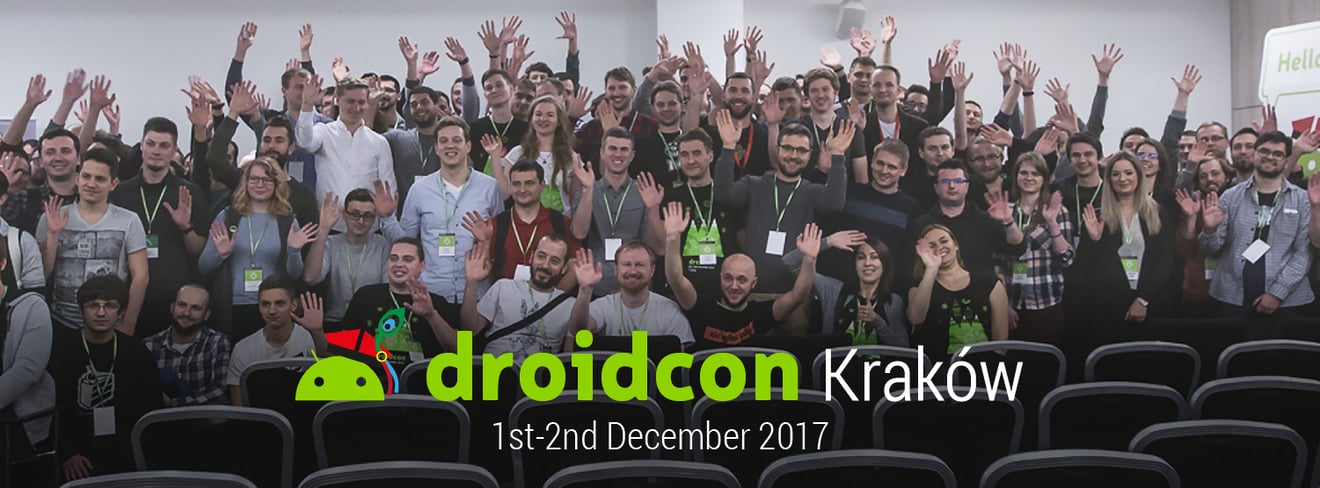
At the beginning of December I had an opportunity to attend Droidcon Kraków 2017 – the annual conference focusing on Android development. Two days of lectures divided into three paths gave me a chance to hear about some really interesting topics. If I wanted to cover all the lectures I attended, this article would be really long, so I will focus on the topics that interested me the most.
During 'Start speking it' presentation, I learned about Spek framework, which enables you to write your tests in Kotlin in a similar way to Ruby on Rails tests written with RSpec. The framework works as a JUnit TestEngine, and enables you to test also your Java classes (though tests must be written in Kotlin). Spek's main goal is to make your tests (or as its team prefers 'specifications') easy to read and understand, by specifying conditions and expected results using keywords like 'given', 'describe', 'on', 'it', i.e.:
object CalculatorSpec: Spek({

   given("a calculator") {

       val calculator = SampleCalculator()

       on("addition") {

           val sum = calculator.sum(2, 4)

           it("should return the result of adding the first number to the second number") {

                assertEquals(6, sum)

        }

       }

       on("subtraction") {

       val subtract = calculator.subtract(4, 2)

           it("should return the result of subtracting the second number from the first number") {

                assertEquals(2, subtract)

        }

       }

   }

})
(example from Spek documentation http://spekframework.org/docs/latest/)
Although at first glance, it looked really nice, the lecturers pointed out also some drawbacks of the library, and advised to wait until new version (2.0) is released before integrating with your project.
The next presentation I would like to write about was about Android Architecture Components, a quite new set of libraries introduced during Google I/O 2017 conference, which 1.0.0 version was released only in November. The libraries consist of three main parts: Lifecycles, ViewModel and LiveData, and Room. All these components are created to support building apps with respect to MVP and MVVM architecture patterns, and to make your app lifecycle aware. This topic can be a subject of a whole separate article (and it probably will be in a while), but just to cover the simplest examples:
- basic Android components like Activities, and Fragments (from AppCompat library) implement the LifecycleOwner interface, which enables LifecycleObservers to subscribe to the specific LifecycleOwner's methods like onStart, or onResume. In this way the LifecycleOwner class stay lean, and most of the logic is handled by the LifecycleObserver itself.
public class MyActivity extends AppCompatActivity {

   public void onCreate(...) {

       getLifecycle().addObserver(new MyObserver());

 }

}
public class MyObserver implements LifecycleObserver {

   @OnLifecycleEvent(Lifecycle.Event.ON_RESUME)

   public void connectListener() {

       ...

   }

   @OnLifecycleEvent(Lifecycle.Event.ON_PAUSE)

   public void disconnectListener() {

       ...

   }

}
- LiveData is a data holder that is lifecycle-aware. It provides you an easy way to keep your UI updated. All you need to do is to register an Observer to the LiveData instance, and after that every time when content of your LiveData gets changed, the Observer's onChange method is called and your UI can be updated. ViewModel class is a great way of preserving your data during configuration change as it is scoped not to Activity or Fragment (which gets recreated on rotation) but to the Lifecycle which goes away only when Activity finishes or when Fragment gets detached.
public class ItemViewModel extends ViewModel {

   private final MutableLiveData<Item> selected = new MutableLiveData<Item>();

   public void setItem(Item item) {

       selected.setValue(item);

   }

   public LiveData<Item> getItem() {

       return selected;

   }

}
public class ItemActivity extends AppCompatActivity {

   private ItemViewModel mModel;

   @Override

   protected void onCreate(Bundle savedInstanceState) {

       super.onCreate(savedInstanceState);

       mModel = ViewModelProviders.of(this).get(ItemViewModel.class);

       final Observer<Item> itemObserver = new Observer<Item>() {

           @Override

           public void onChanged(@Nullable final Item newItem) {

               // Update the UI, in this case, a TextView.

               mNameTextView.setText(newItem.getName());

           }

       };

       mModel.getItem().observe(this, itemObserver);

   }

}
- Room Persistence Library is an ORM that is built from three main components: Database, Entity and DAO. The great thing is that Room supports using LiveData objects and bases on plain SQL queries in DAO classes. Also the database migration process is quite straightforward. Below you can find a really basic database configuration example.
@Entity

public class Item {

   @PrimaryKey

   public int id;

   public String name;

   @Ignore

   Bitmap picture;

}
@Dao

public interface ItemDao {

@Insert(onConflict = OnConflictStrategy.REPLACE)

public void insertItems(Item... items);


@Query(”SELECT * FROM item”)

public LiveData<List<Item>> getAllItems();

}
@Database(entities = {Item.class}, version = 1)

public abstract class AppDatabase extends RoomDatabase {

   public abstract ItemDao itemDao();

}
AppDatabase db = Room.databaseBuilder(getApplicationContext(),

       AppDatabase.class, "database-app").build();


Room.databaseBuilder(getApplicationContext(), AppDatabase.class, "database-app")

       .addMigrations(MIGRATION_1_2).build();


static final Migration MIGRATION_1_2 = new Migration(1, 2) {

   @Override

   public void migrate(SupportSQLiteDatabase database) {

       database.execSQL("CREATE TABLE `Producer` (`id` INTEGER, "

               + "`name` TEXT, PRIMARY KEY(`id`))");

   }

};
The last (but definitely not the least) lecture that is worth mentioning was about Multi-OS Engine, a tool that enables you to build an iOS app as a module of your Android app (!). Its base concept is that when building MVP based app, the only thing you have to handle separately for both systems is the View layer. The rest is common and thus can be written in Java/Kotlin. That sounds really great, as it provides an Android Studio plugin that helps you with most of the configuration, and your Android code is not affected by iOS code in any way (on the other hand, if you decide to separate both apps, you will still have iOS UI done). The only drawback is that for building the UI for iOS (only building, the behavior is handled in Java) and testing on iPhone you still need an access to a computer running macOS. Nevertheless, compared to other solutions as React Native or Xamarin, Multi-OS Engine seems to be a really interesting alternative for building apps both for Android and iOS with a little more effort.
As usual, I really regret that I couldn't attend all the lectures, but I hope they will be available on the Youtube later. Droidcon is a conference that is organized in various countries across the world, so if you have a chance to attend it in any location, I strongly recommend you to do so.