Every iOS developer that watches Worldwide Developers Conference, or watched it in 2019 at least, heard about something called “Swift Package Manager”. It has a big potential for a very useful tool for managing dependencies. Moreover, it is a big step further in making the coding easier, especially if we will think about iOS apps modularly.

Table of Contents:
2. Swift Package Manager Introduction.
3. Swift Package Manager Tutorial: Creating a Modular iOS App Step by Step.
What is a Modular iOS App?
If you have ever built a big application that was fetching data from a server, saving data on the device, or calculating a lot - you know, that it requires many lines of code. And also - many files to do it properly, using the principles of clean code. I bet you know from your own experience, how having too many files messes the whole project in terms of its clarity. Modular programming is what you need then to clean this all up!
Modular programming is the process of subdividing a computer program into separate sub-programs.
In other words, this approach makes our codebase cleaner by separating the independent parts of our code into modules. And, as you hopefully already know, a cleaner codebase means faster work in the future.
Swift Package Manager Introduction
As we can read on the official Swift website:
The Swift Package Manager is a tool for managing the distribution of Swift code. It’s integrated with the Swift build system to automate the process of downloading, compiling, and linking dependencies.
You might have heard of CocoaPods or Carthage. SPM (Swift Package Manager) is built to do exactly the same thing but is written in Swift and its purpose is to make it easier to manage dependencies in a project.
It is evolving and in 2019 it was integrated into Xcode - the main tool for Apple platforms development. Thanks to this, fetching and installing dependencies is now an automated process. You just need to open the project in Xcode and then it is automatically fetching and installing all required dependencies. Thankfully, more and more frameworks are available to use with SPM.
Swift Package Manager Tutorial: Creating a Modular iOS App Step by Step
I’ve divided this tutorial into two main sections. In the first one, you probably won’t learn anything new because we will create and set up a project to use it in the next section. In the second section, I will explain how to create modules for your app using SPM.
Section 1 - Start a New Project
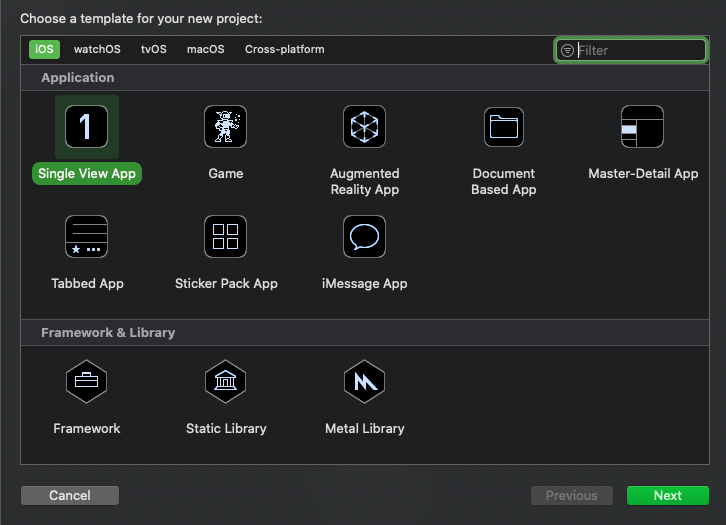
1. Let’s create an empty iOS project in Xcode (we’re using Xcode 11.6 on macOS 10.15.6 in this tutorial).
We will name the app “BitcoinValue” where we will display the current Bitcoin value in USD.
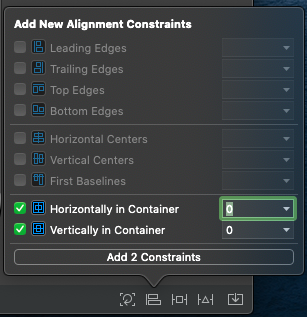
2. Open Main.storyboard and create a label there in the center and add constraints to center it in the superview.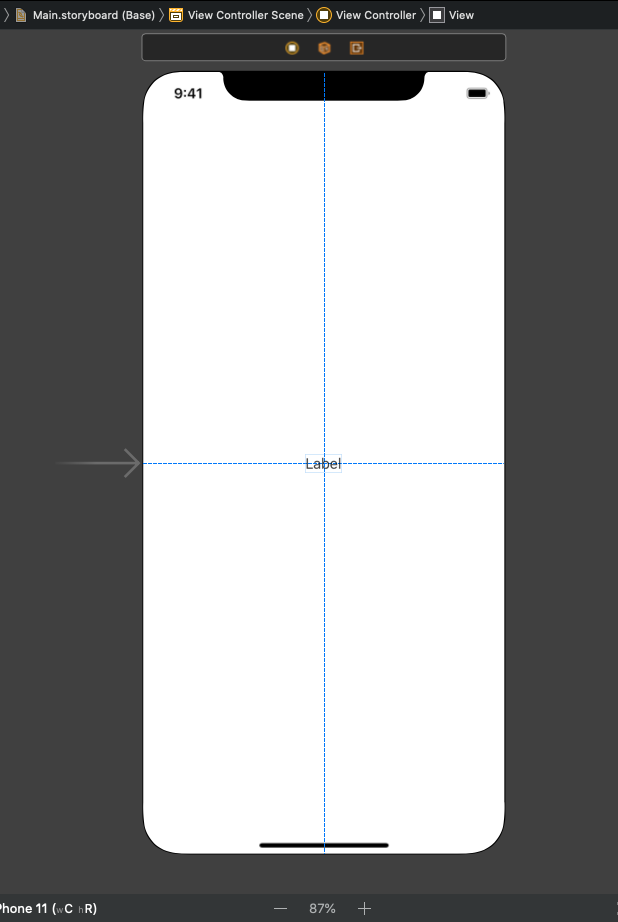
3. Hook it to the ViewController class by clicking the ViewController.swift file with Option/Alt key and dragging it using the right mouse button.
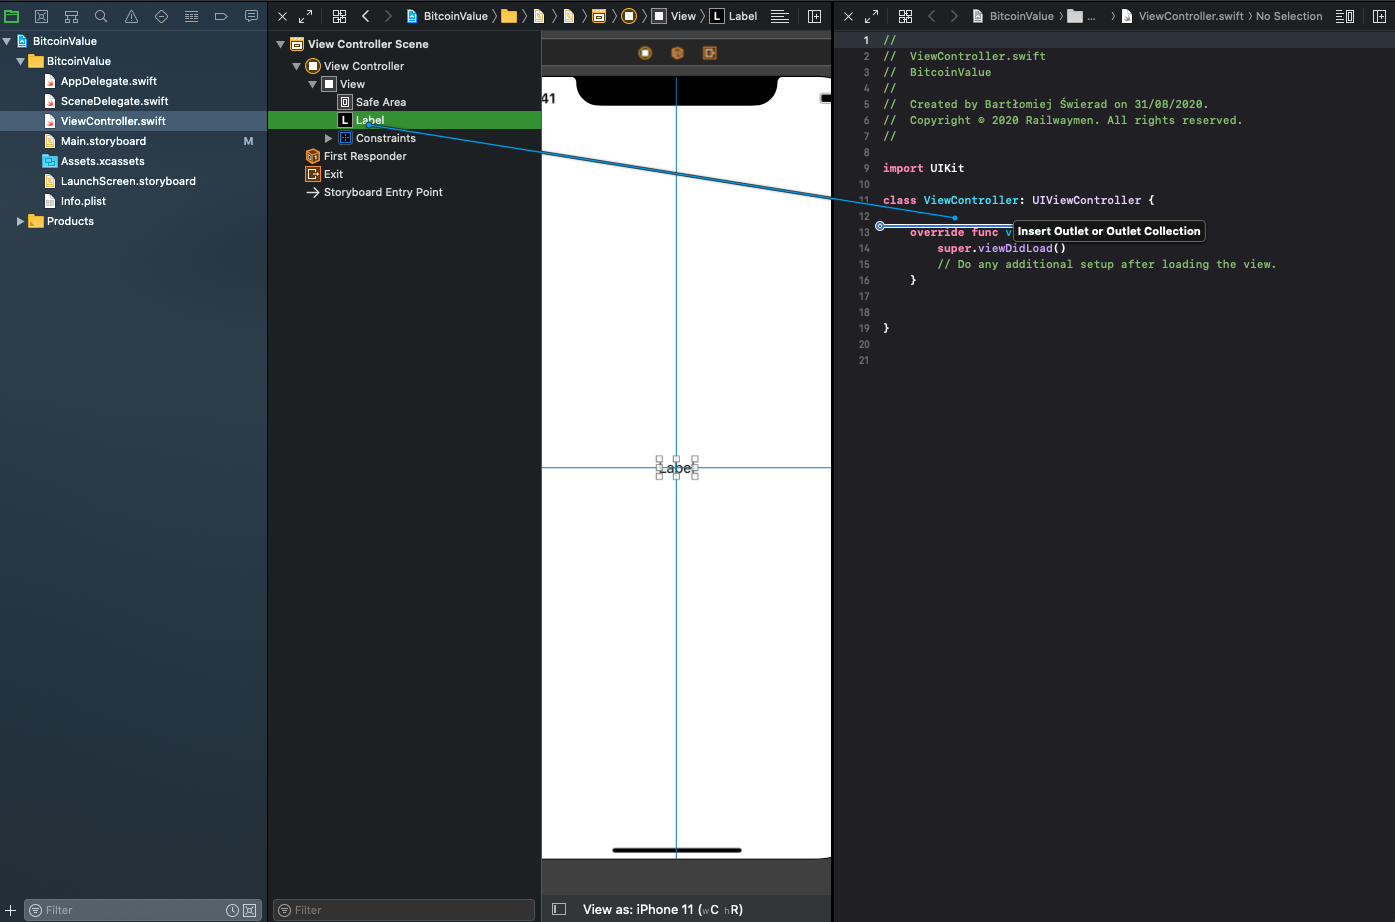
4. For now, on viewDidLoad() write a static value to it for example 100. So the class looks like this:
class ViewController: UIViewController {
    @IBOutlet private var label: UILabel!

    override func viewDidLoad() {
        super.viewDidLoad()
        label.text = "100"
    }
}
Section 2: Creating a module
Here we will create our first module which will contain our models. Since models are required by many parts of your app you will need to separate them. Moreover, if you use a backend in Swift using Vapor, it can be a good practice to always keep them in a separate module and import it from a separate repository.
1. Open your project in a Terminal.
The command for it varies depending on where you saved the project but it’s something similar to this:
cd BitcoinValue
2. Create a swift package.
To do it simply run a few commands:
mkdir ModelsModule
cd ModelsModule
swift package init --name ModelsModule --type library
These commands will:
a) create “ModelsModule” folder
b) open the folder
c) create a Swift Package library named “ModelsModule” in the current folder.
3. Open the project folder in Finder.
You can do it quickly from the terminal:
open ..
The two dots “..” state for the parent directory. If you want to open a current directory simply write one dot instead of two.
4. Drag the “ModelsModule” folder to the Xcode project like this:
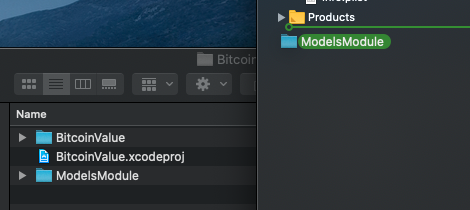
The folder will then appear in this way:

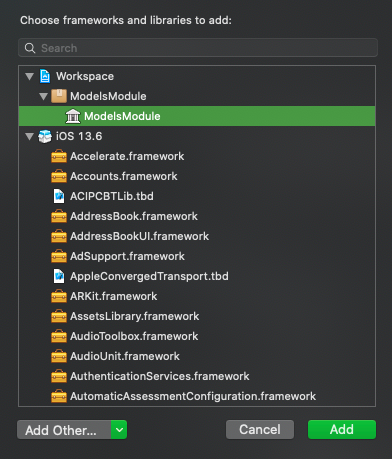
5. Link the module to the main app.
You can do it by opening the “General” tab in the project settings and clicking the plus button in section “Frameworks, Libraries and Embedded Content” and adding the “ModelsModule” library.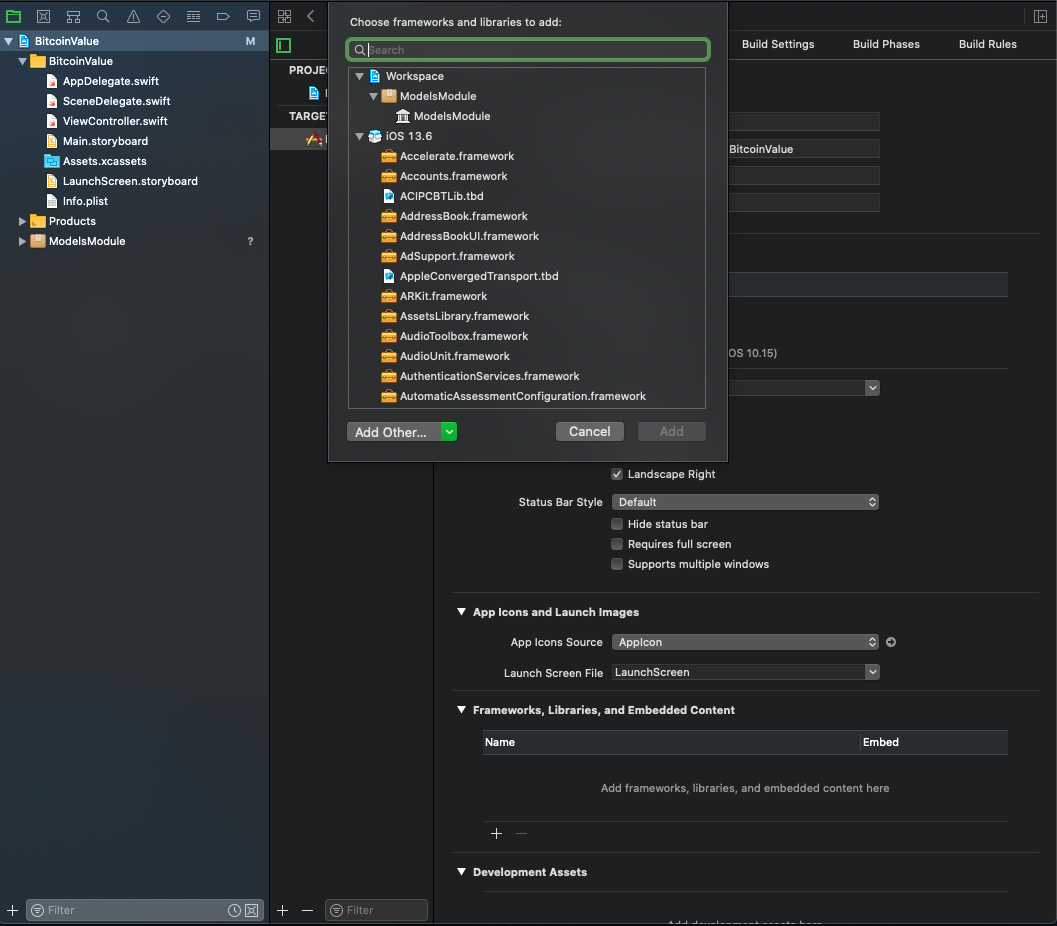
You just added an SPM module to the app. The project should compile without any problem at this moment. Also, it should compile the module, so if you mess something up in there, you will get a compiler error.
6. Create file “CoinsResponse.swift” in the sources of the ModelsModule
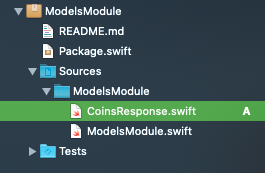
and replace its content with this:
import Foundation

public struct CoinsResponse: Decodable {
    public let data: CoinsSuccessfulResponseData
}

public struct CoinsSuccessfulResponseData: Decodable {
    public let coins: [CoinData]
}

public struct CoinData: Decodable {
    public let id: Int
    public let name: String
    public let price: String
}
It’s important to make all of this public because we want to access it in the whole application.
7. Now by yourself create a module named “NetworkingModule” (steps 1-5).
8. Select NetworkingModule in Xcode

end edit its content to import Restler (you can read about it here) and our ModelsModule.
So content of the Package.swift looks like this:
// swift-tools-version:5.2
import PackageDescription

let package = Package(
    name: "NetworkingModule",
    platforms: [
        .iOS(.v11),
    ],
    products: [
        .library(
            name: "NetworkingModule",
            targets: ["NetworkingModule"]),
    ],
    dependencies: [
        .package(name: "Restler", url: "https://github.com/railwaymen/restler.git", .upToNextMinor(from: "0.6.0")),
        .package(path: "../ModelsModule"),
    ],
    targets: [
        .target(
            name: "NetworkingModule",
            dependencies: ["Restler", "ModelsModule"]),
        .testTarget(
            name: "NetworkingModuleTests",
            dependencies: ["NetworkingModule"]),
    ]
)
9. Add function for downloading data from the server in “NetworkingModule” structure.
import Foundation
import Restler
import ModelsModule

public class NetworkingModule {
    public init() {}

    public func getBitcoinValue(handler: @escaping (Result<coinsresponse, error="">) -> Void) {
        guard let url = URL(string: "https://api.coinranking.com/v1/public/coins") else { return }
        Restler(baseURL: url)
            .get("")
            .query(["symbols": "BTC"])
            .decode(CoinsResponse.self)
            .onCompletion(handler)
            .start()
    }
}
10. Import ModelModule and NetworkingModule in our ViewController.swift file.
11. Fetch data in the ViewController. Add at the end of viewDidLoad function:
NetworkingModule().getBitcoinValue { [weak self] result in
    switch result {
    case let .success(response):
        self?.label.text = response.data.coins.first?.price
    case let .failure(error):
        debugPrint(error)
    }
}
Conclusion
Learning and exploring new solutions is a part of every programmer’s life. Without evolving we would stay in place while the whole world is running forward. I don’t mean we always have to run if the world is running but we cannot stop even if we would take a walk in our career temporarily.
This walk should happen every now and then to look for potential solutions for problems we are facing every day and maybe don’t even realize they are problematic until we see a solution for it. SPM I presented is a tool with great potential for being very useful in the development of mobile applications in the future.
At the same time, let's not forget, that the most valuable programmer is someone who not only knows how to code well but is also business oriented. The one, who will be able to tell the client, that this functionality might be done in a different way, to bring him higher revenue.
And to be more business oriented, you should follow trends that are happening in the mobile development industry all the time! Check the article below to see, which solutions have brighter future than others.


![how to use a static site generator as a cms engine [video]](https://2581766.fs1.hubspotusercontent-na1.net/hub/2581766/hubfs/static%20site%20generator%20cms.jpg?width=1905&height=510&name=static%20site%20generator%20cms.jpg)